
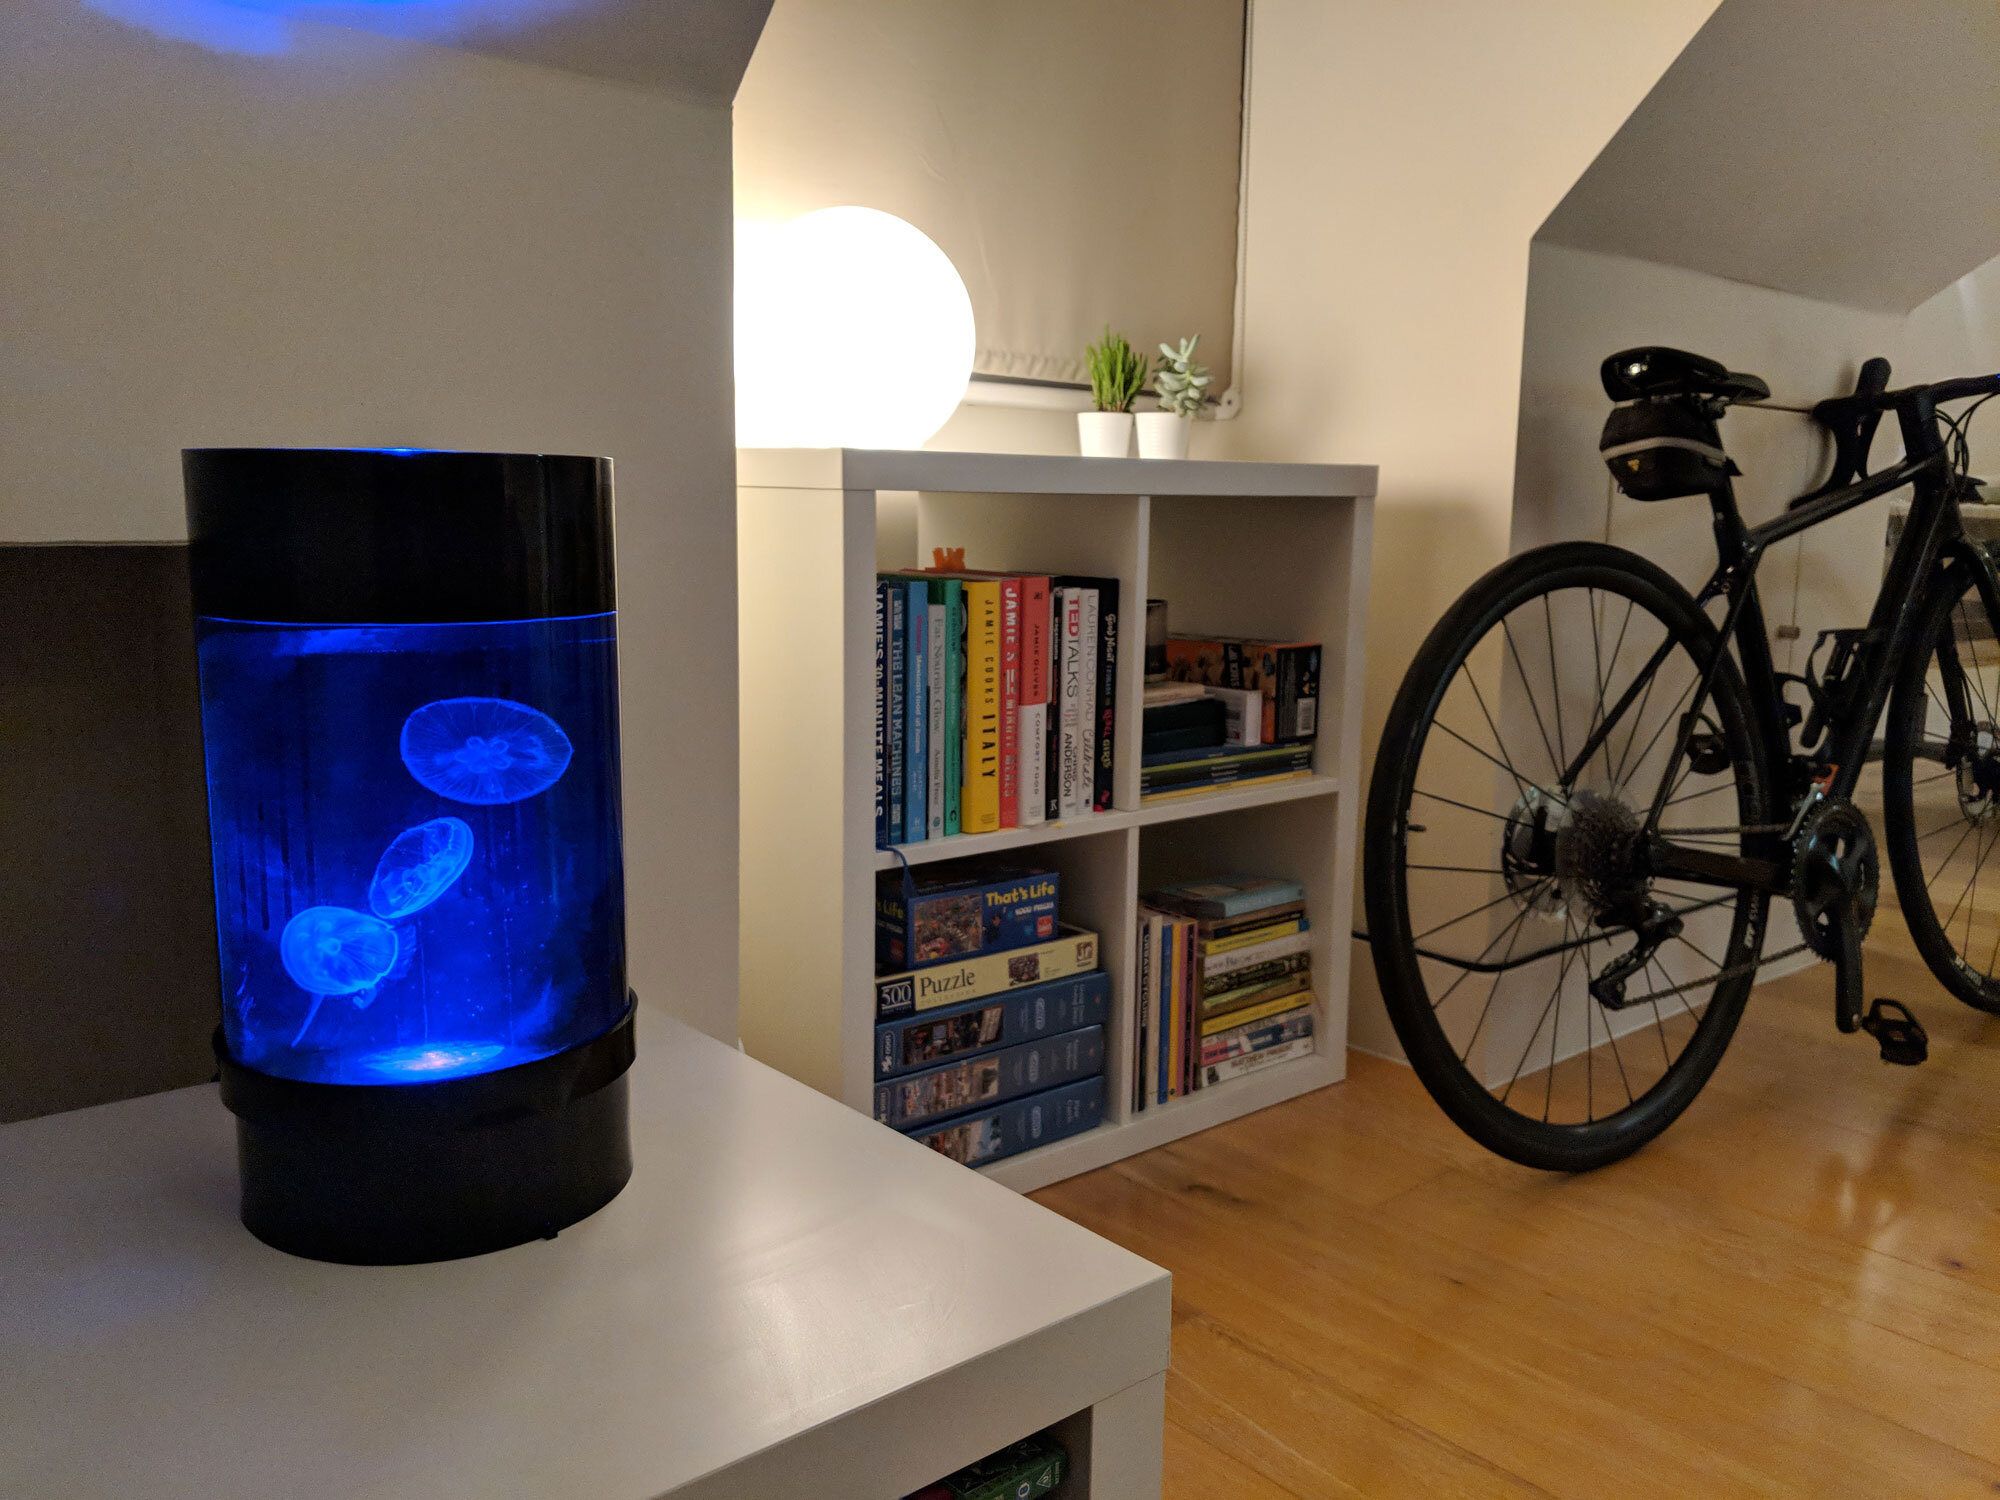
Your Jellyfish Art Cylinder Nano Tank does come with instructions, but this step by step guide can make things even easier!
Important Information
The below information are all important things to take note of, and things which will help keep your jellyfish tank clean over time:
- Do Not Use Tap Water.
- Keep Tank away from direct sunlight.
- Keep Tank away from heat sources or electrical equipment.
- Place on a flat, level surface.
- Ensure that you have two wall sockets within close proximity.
Scroll down to see full instructions.
The Jellyfish Art Cylinder Nano PDF Instruction Guide can be found here: PDF Instructions
Alternatively, our Pet Jellyfish Step-by-step guide can be seen below!

Setting Up The Jellyfish Art Cylinder Nano Tank
Certain parts of the Jellyfish Art Cylinder Nano come pre-installed, such as the black sponge filter and the plastic tube air line. There is no need to remove either of these items.
- Seat the LED Bulb into its metal socket within the base of the tank. Ensure the bulb is a snug fit. You may need to slightly bend the bulb’s clips in order for the bulb to be snug.
- Place the external LED sensor through the gap in the front of the base, and ensure the sensor is facing “up”.
- Ensure suction cup of the air pump is sucked to the clear plastic base of the tank. The air pump needs to be squeezed through the gap in the base in order for this to occur, it can be quite tight. Ensure once fitted, that the air pump is not touching the LED connection, or sides of the tank. The air pump will vibrate when it’s working, so this will ensure the pump remains quiet.
- Run the air line from the bottom of the tank, through the hole, and connect it to the air pump. Make sure the tubing is snugly fit.
- Place top part of the tank to the base which you have just set up. Ensure the aignment notch is properly centred.
Once the above is complete, the base of your tank should look like the photo to the left.
Filling Your Jellyfish Art Cylinder Nano with Water
Important: Do Not Use Tap Water!
Before you begin:
- Make sure that all components are unplugged before filling your tank with water.
- If you are mixing your own water, make sure to mix your salt water in a separate container, and leave for 24 hours before use. Ensure all salt crystals have dissolved.
- We recommend to use Caribsea Sea-Pure Saltwater, as this is already pre-mixed for use in jellyfish tanks.
- Alternatively visit your Local Aquatics Shop, as a lot of aquatics shops sell their own pre-mixed water too.
Filling Your Tank
- Rinse 1 Chemi-Pure Blue Nano pack under salt water. Do not open the single packet. Place 1 pack within the indentation of the black foam filter sponge once it has been rinsed.
- Fill the Jellyfish Art Cylinder Nano to the water level indicator, with salt water of correct salinity. Ensure your water level is between the “min” and “max” markings.
- Ensure the air line is fully connected above the foam filtration pad.
- Add JellyBio Starter (3 cap-fuls) to the tank’s water.
Tip: Use the hydrometer (supplied with the tank) to verify your water’s salinity, which needs to be between 28 and 32ppt (1.020 – 1.025 SG).
Tip: Make sure there are no air bubbles trapped on the hydrometer’s needle, otherwise this can cause an inaccurate reading.
Tip: If average room temperature falls below 15C, add an aquarium heater and set to 18C.
 Getting Your Tank Ready For Jellyfish
 Getting Your Tank Ready For Jellyfish
Now that your tank is set up and full of water, you are ready to take on your next step: The Nitrogen Cycle.
This “cycle” process will allow friendly bacteria to take home in the tank’s water, and will allow a safe home to be created for your jellyfish.
This process is extremely important, and usually takes around 4-8 weeks to complete.
If you’re thinking about giving a jellyfish tank as a gift, this cycle process can often mean it is more wise to give the tank as the gift, and let the recipient set up the tank on their own and in their own time.
Next Step: Read our guide on How To Cycle Your Jellyfish Tank for your next step!